
How to Clear the Cache Memory in Windows 11 and What Are the Benefits
Proper cache management in Windows 11 is essential for keeping your operating system running efficiently and without issues.
Cache is a fundamental feature that temporarily stores frequently used data and files to speed up access for applications and websites. While this feature optimizes the user experience, over time it can lead to performance problems and take up valuable space on your hard drive.
In addition, clearing the cache can remove these problematic files and allow applications to function correctly again.
Benefits of Clearing Cache Memory in Windows 11
Clearing the cache memory in Windows 11 offers a number of significant advantages for system performance and efficiency.
Here are some of the most notable benefits:
- Increased system speed: cache memory temporarily stores frequently used data and files to speed up access. However, if this cache becomes excessively full, it can slow down the system, which is why clearing it is necessary.
- More storage space: when the cache memory is very full, it can take up a significant amount of hard drive space. Clearing it regularly frees up valuable storage.
- Application issues: corrupted cache files can cause problems with applications, such as crashes or malfunctions.
- System stability: keeping the cache memory clean can contribute to greater operating system stability, as it reduces the likelihood of unexpected errors and crashes.
- Privacy and security: by clearing the cache, you remove temporary data that could contain sensitive information about you that might be exploited maliciously.
- Web content refresh: clearing the browser cache ensures you always see the most up-to-date version of the websites you visit.
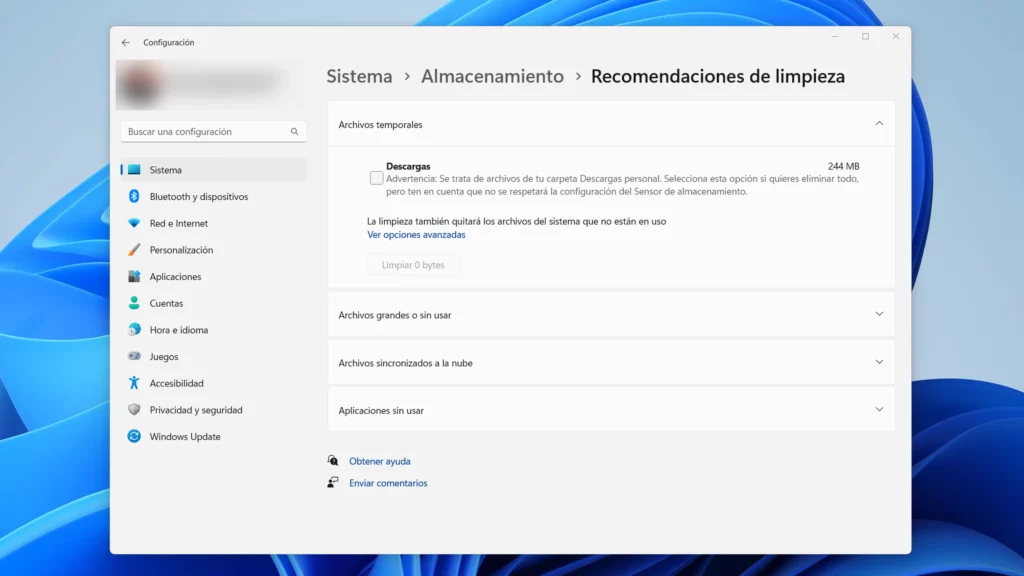
Cleanup Recommendations for Clearing Cache Memory
You can use the system’s built-in recommendations to easily clean the cache memory in Windows 11. The steps are as follows:
- Go to Settings.
- Then under System select Storage.
- Now click on Cleanup recommendations.
- Select the temporary items taking up the most space from the list and click the Clean up button to delete the files.
Clear the Windows 11 Store Cache Memory
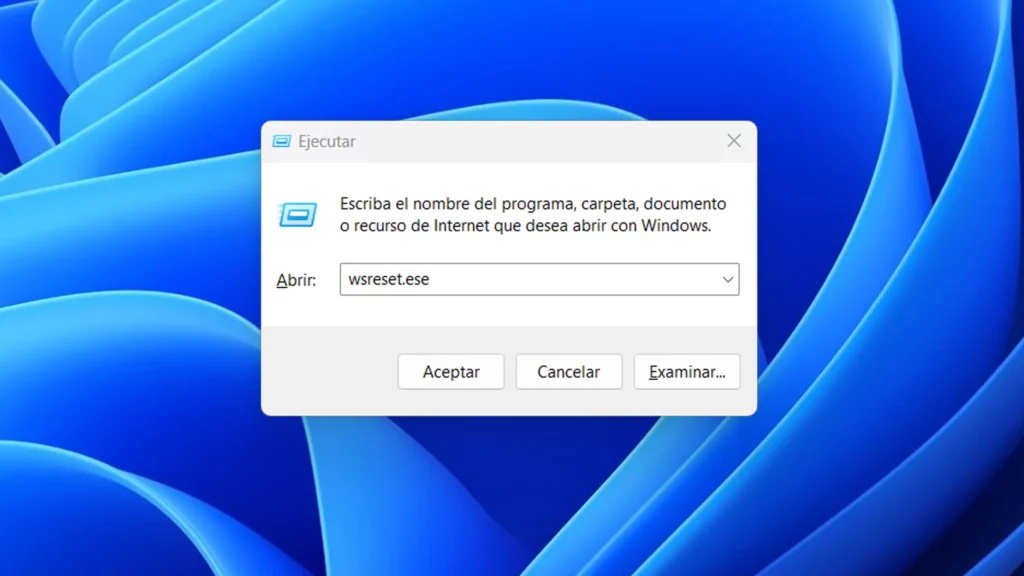
If you get many of your apps and games from the Microsoft Store, you can clear the temporary cache files to improve performance. To clear the temporary cache files from the Windows Store:
- Press the Windows + R keys to open the Run dialog box.
- Type wsreset.exe and click OK.
- A blank command prompt screen will briefly appear during the process.
Clear the DNS Cache in Windows 11
The Domain Name System (or DNS) maps domain names to specific IP addresses.
Flushing the DNS cache lets you fix sites that won’t load in your browser due to too much IP address translation data.
- Right-click the Windows key.
- Now select PowerShell as Administrator.
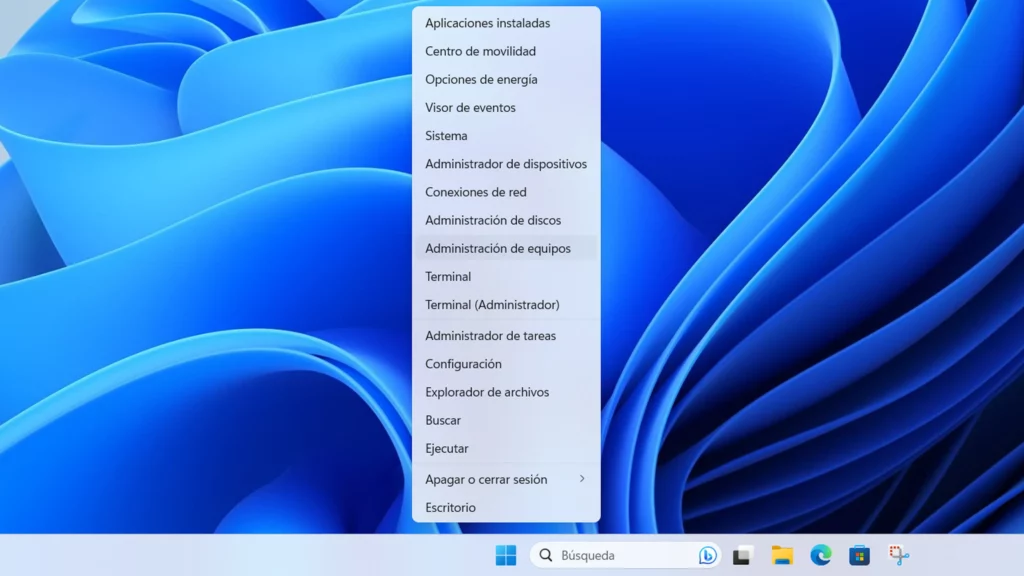
- Type the following command and press Enter: Clear-DnsClientCache

Clear Windows 11 Cache Memory: Deleting Temporary Files Manually
Sometimes the best way to clear cache memory in Windows 11 is to do it manually, since you will know for certain that it has been deleted. To do so, follow these steps:
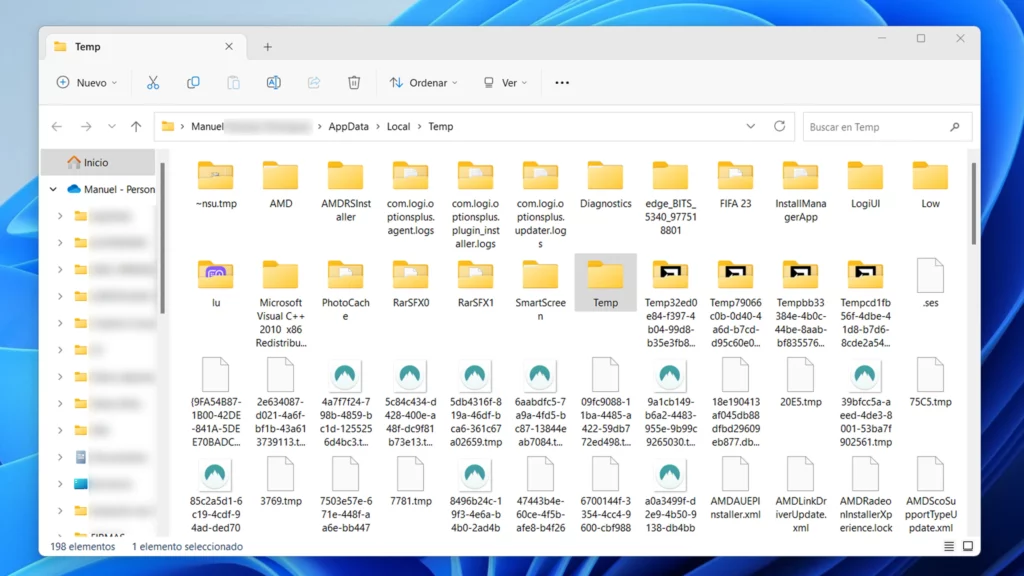
- Press the Windows + R keys to open the Run dialog box.
- Type %temp% and click OK.
- Select all items in the Temp folder and click the trash icon in the command bar to delete them.
- If the Folder Access Denied message appears, click the Skip button.
You have another option using the PowerShell command line. Following these steps will also allow you to delete Windows 11 temporary files:
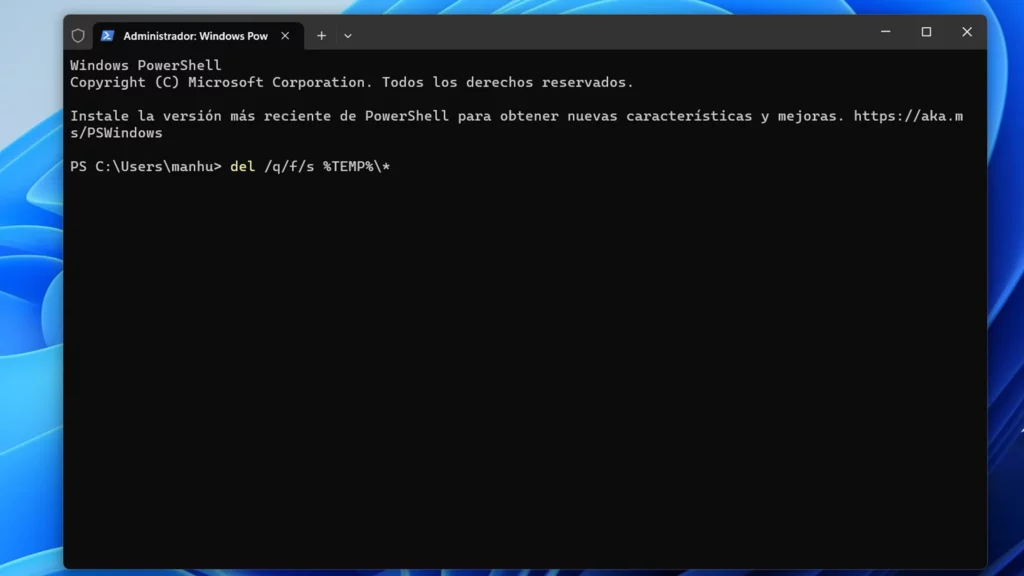
- Right-click the Windows key and choose PowerShell as administrator.
- Copy and paste the following command and press Enter: del /q/f/s %TEMP%\*
- During the process, you will see several lines of code indicating that the temporary files are being deleted from the Temp folder.
Clear Microsoft Teams Cache Memory
If you work extensively with Microsoft Teams, you should also consider clearing the temporary cache files for this application. To complete this task, follow these simple steps:
- Completely close the Microsoft Teams desktop application.
- Press the Windows + R keys to open the Run dialog box.
- Now type the following path: %appdata%\Microsoft\Teams
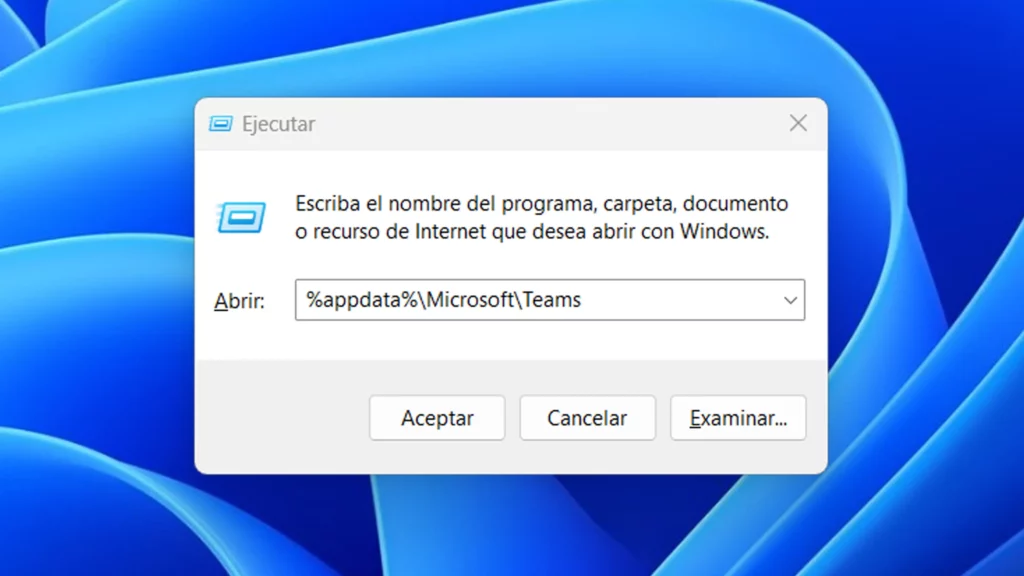
- When File Explorer opens, hold the Ctrl key, select the Cache, Code Cache, and GPUCache folders, and delete them.
- Restart Microsoft Teams so it launches without any cached memory.
In conclusion, clearing the cache memory in Windows 11 is an essential action for optimizing the performance and efficiency of your operating system. The benefits are clear, as you have just read.