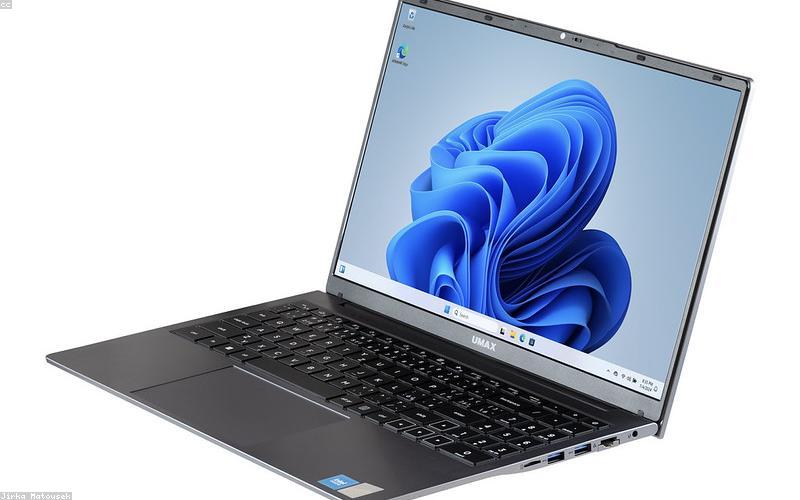
How to Uninstall Windows 11 and Go Back to Windows 10
If Windows 11 isn’t working out for you, you can return to Windows 10, but how you do it depends on how long ago you upgraded. This guide covers both the easy built-in rollback and the clean-install method for when that option has expired.
The 10-Day Rollback Window
When you upgrade to Windows 11, the installer keeps your old Windows 10 files in a folder called Windows.old for 10 days. During this period, Microsoft provides a one-click “Go back” feature that restores Windows 10 while keeping your files and most apps. After 10 days, Windows automatically deletes those files to free space, and this option disappears.
Read also: How to Schedule Tasks in Linux with Cron
Method 1: Using the Built-in Go Back Feature
If you’re still within the window, this is by far the easiest route:
- Open Settings (press
Win + I). - Go to System > Recovery.
- Find the Go back option under “Recovery options” and click it.
- Choose a reason when prompted (any selection works), then follow the wizard.
- The PC will restart and restore Windows 10. This can take 15–30 minutes.
If the Go back button is greyed out, the 10 days have passed or the Windows.old folder was removed by Disk Cleanup. In that case, use Method 2.
Method 2: Clean Install of Windows 10
After the rollback window closes, you’ll need to reinstall Windows 10 from scratch. This wipes the drive, so back up your files first.
- On another working PC, download the Windows 10 Media Creation Tool from Microsoft’s official website.
- Insert a USB drive of at least 8 GB and run the tool, selecting Create installation media.
- Choose your language and edition, then let it write Windows 10 to the USB drive.
- Boot the target PC from the USB drive (press
F12,F10, orEscat startup to open the boot menu, varies by manufacturer). - Follow the installer, choose Custom install, delete the existing partitions, and install Windows 10 fresh.
Your Windows 10 license is tied to your hardware and Microsoft account, so it should reactivate automatically once you’re back online.
Before You Downgrade: A Quick Checklist
- Back up everything to an external drive or cloud, especially for a clean install.
- Note your passwords and license keys for any third-party software you’ll need to reinstall.
- Confirm driver availability — check that your PC manufacturer still offers Windows 10 drivers for your model.
- Consider why you’re downgrading — sometimes a specific issue (a driver or app) can be fixed without rolling back the whole OS.
Important Considerations
Keep in mind that Windows 10 reached its end of support in October 2025, meaning it no longer receives free security updates. Going back leaves you on an unsupported OS unless you enroll in Extended Security Updates. For many users, troubleshooting the specific Windows 11 problem is a safer long-term choice than downgrading to software that’s no longer patched.
Frequently Asked Questions
Will I lose my files when going back to Windows 10?
Using the built-in Go back feature within 10 days keeps your personal files and most apps. A clean install after that window erases the drive, so back up everything first.
The “Go back” button is greyed out. What now?
The 10-day window has passed or the Windows.old folder was deleted. Your only option is a clean install of Windows 10 using the Media Creation Tool on a USB drive.
Do I need a new product key to reinstall Windows 10?
Usually not. Your digital license is linked to your hardware and Microsoft account, so Windows 10 should reactivate automatically once connected to the internet.
Is it still safe to use Windows 10 in 2026?
Windows 10 ended free support in October 2025, so it no longer gets security updates unless you pay for Extended Security Updates. Weigh that risk before downgrading from Windows 11.