balenaEtcher: Another Way to Flash Images to USB Drives and SD Cards
📅 Actualizado: 2026 — Este artículo ha sido revisado y actualizado con la información más reciente.
When it comes to writing ISO images to USB drives, memory cards, and removable disks, our go-to tool has always been Rufus. Its advanced profile lets us fine-tune various configuration parameters and even modify the latest versions of Windows. However, that same advanced profile isn’t entirely suitable for most users — and that’s exactly where balenaEtcher comes in. With a clean interface and a straightforward three-step process, balenaEtcher aims to simplify flashing down to its absolute minimum.
Read also: How to Benchmark Your PC for Free (and What the Results Mean)
Writing operating system images to USB drives and memory cards isn’t something reserved exclusively for advanced users or maintenance sessions. Many devices require this process just to function at a basic level — Raspberry Pi and other similar single-board computers being a prime example. Beyond the official solutions available, it’s always a good idea to have alternatives on hand in case something goes wrong, and that’s what brings us to balenaEtcher, originally known simply as Etcher.
How to Flash Operating Systems to USB Drives and SD Cards with balenaEtcher
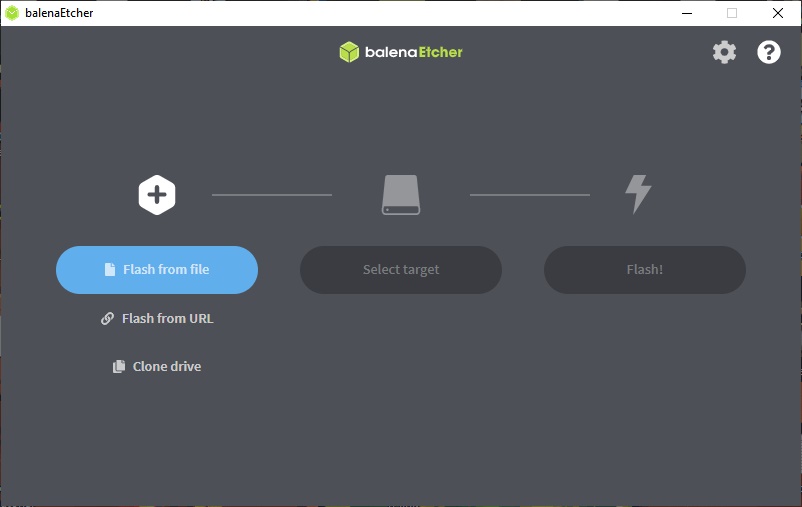
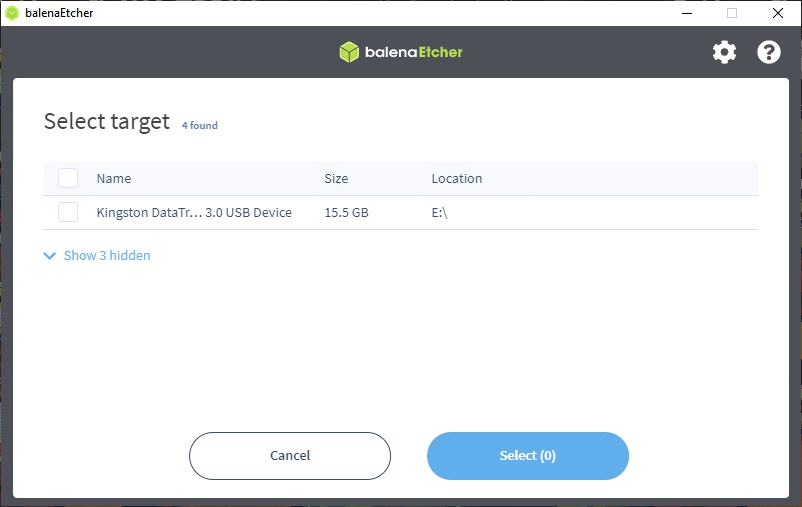
balenaEtcher is available for Windows, Linux, and macOS. Personally, I recommend downloading the portable Windows build, which has no major dependencies. The first step is essentially an action hub: you can write an image from a local file, do the same from a URL, or clone drives. Next, you select the target drive that will receive the data. balenaEtcher automatically hides hard drives and other system volumes, keeping the risk of accidentally wiping important files very low.
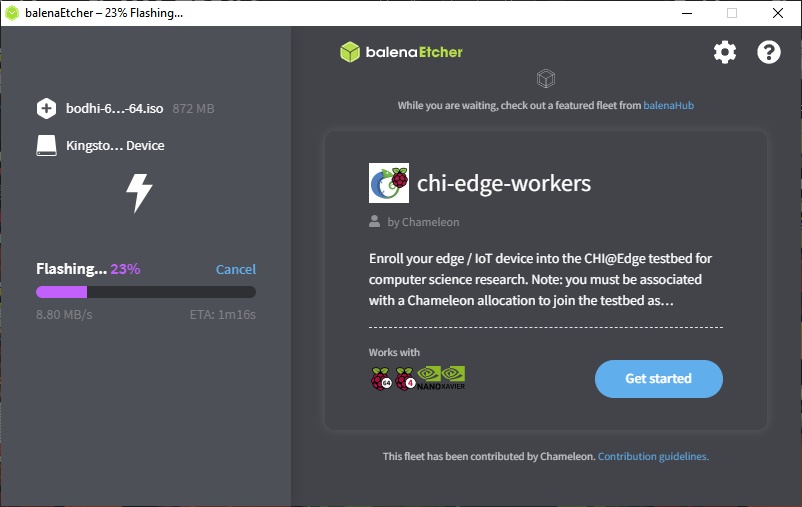
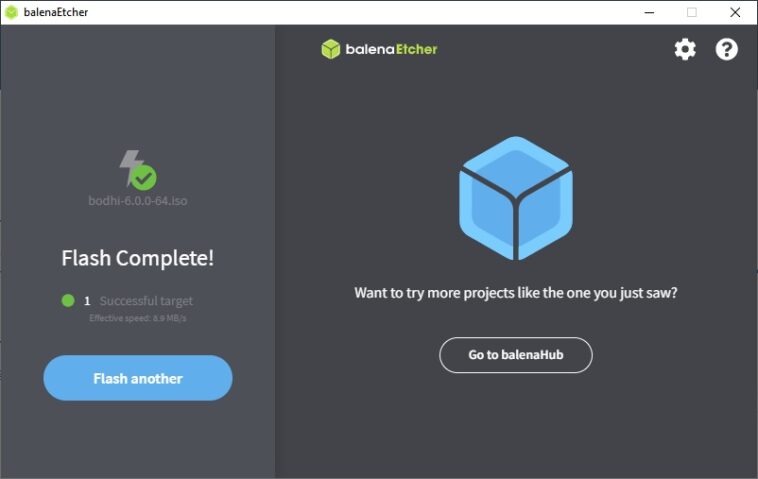
Finally, we reach the actual flash phase. balenaEtcher may prompt for permission to run commands in the Windows console, but this is simply to wipe any existing partitions on the USB drive. The rest depends on how large the image is and the natural speed of the target device.
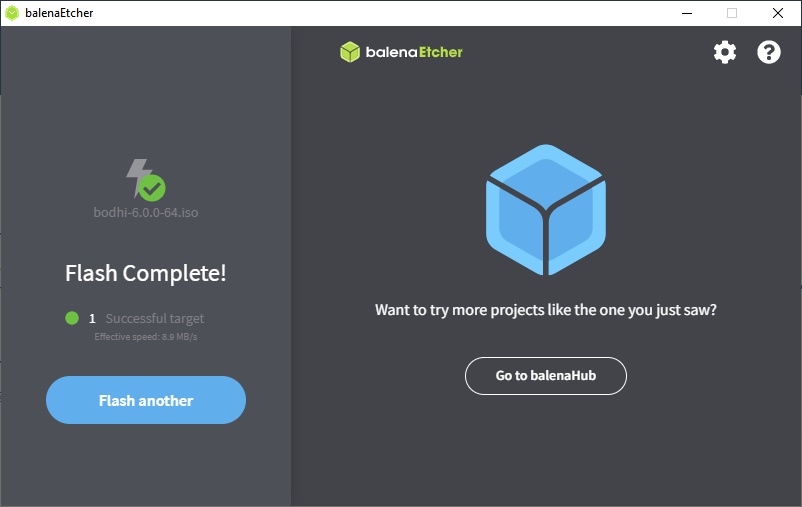
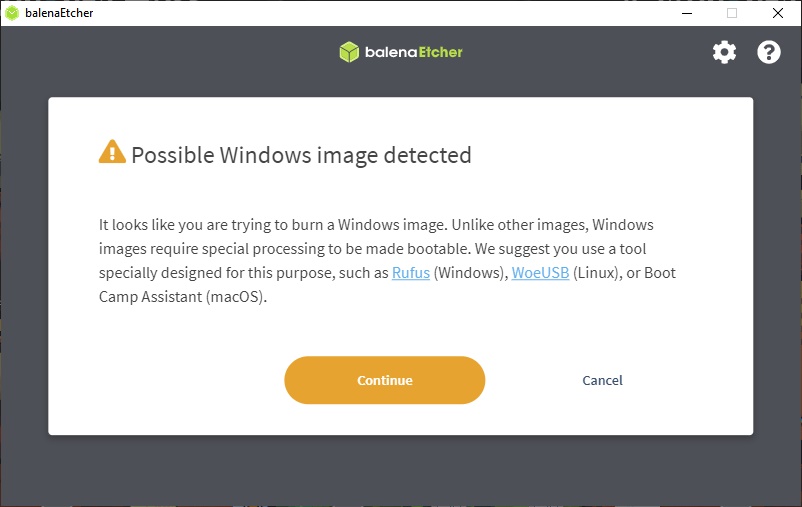
Now, balenaEtcher is very easy to use, but that doesn’t make it 100% suitable for every situation. The app warns that Windows images require special handling and may result in an incorrect flash, so it directly suggests using Rufus or a similar tool instead. Another possibility is that the image simply isn’t compatible. For example, flashing Bodhi Linux completes without errors, but upon inspecting the contents of the USB drive, all I found was free space.
How to Use balenaEtcher
The process is genuinely three steps. Open the app, click «Flash from file» and select your ISO, click «Select target» to choose your USB drive, then hit «Flash.» That’s the whole thing. It validates the write automatically when it’s done, which is a nice touch that Rufus doesn’t do by default.
The validation step adds a few extra minutes but catches corrupted writes before you discover the problem during installation. Worth it.
Supported Formats and What It Can Handle
balenaEtcher works with ISO, IMG, and compressed archives (zip, gz, bz2, xz, zst). For most use cases — Linux distros, Windows ISOs, Raspberry Pi images — that covers everything. It also supports flashing directly from a URL, which is occasionally useful if you’re working on a machine with limited storage.
balenaEtcher vs. Rufus: When to Use Which
| Feature | balenaEtcher | Rufus |
|---|---|---|
| Ease of use | Very easy | Moderate |
| Advanced options | Minimal | Extensive |
| Windows ISO customization | No | Yes |
| Partition scheme control | No | Yes (MBR/GPT) |
| Auto-validation | Yes | Optional |
| SD card support | Yes | Limited |
Short version: use Rufus when you need control over the output. Use balenaEtcher when you just want something to work without thinking about it.
Common Issues
The most frequent complaint is that balenaEtcher asks to run as administrator and some users refuse on principle. It needs admin rights to access raw disk devices — there’s no way around this and it’s not a red flag. If you don’t trust it, the source code is on GitHub.
Occasionally it fails to detect USB drives on first launch. Unplug and replug the drive, then restart the app — that fixes it 90% of the time.
Frequently Asked Questions
Can I use balenaEtcher to create a Windows 11 bootable USB?
Yes, it works for Windows ISOs. However, if you need to bypass TPM 2.0 requirements or customize the installer, Rufus is the better choice since it has specific options for that.
Does balenaEtcher erase everything on the USB drive?
Yes. The flash process overwrites the entire drive. Make sure there’s nothing important on it before you start — there’s no recovery option afterward.
Is balenaEtcher free?
Yes, completely free and open-source. There are no paid features or premium tiers.
Why is balenaEtcher so slow compared to Rufus?
The validation step at the end is the main reason. You can’t skip it, but it catches bad writes that would otherwise waste your time later. Rufus is faster because it skips this by default.
Can balenaEtcher flash Raspberry Pi OS images?
Yes — Raspberry Pi images are actually one of the most common use cases. It handles .img files perfectly, which is the format Raspberry Pi OS comes in.